Ready to transform your room or backyard into a magical wonderland? Whether you’re a DIY newbie or a decor enthusiast, fairy lights can add that extra sparkle to your space without breaking the bank—or the walls! In this guide, we’ll walk you through everything you need to hang fairy lights safely and beautifully, along with some creative ideas to make your home décor shine.
What You’ll Need
- Fairy Lights or String Lights: Choose between battery-powered or plug-in options. LED lights are great because they stay cool and are energy efficient. For our favourites, check out The Best Fairy Lights for Bedrooms!
- Hanging Supplies: Command strips, pins, blue tack, Sellotape, wire suckers, or none if you’re draping them!
- Measuring Tape & Pencil: To plan your layout.
- Ladder (Optional): For reaching high spots.
- Extension Cords/Timers: For plug-in lights to keep things organized and safe.
- Clean Cloth & Mild Cleaner: To prep the surfaces for a secure stick.
2. Choose Your Hanging Method
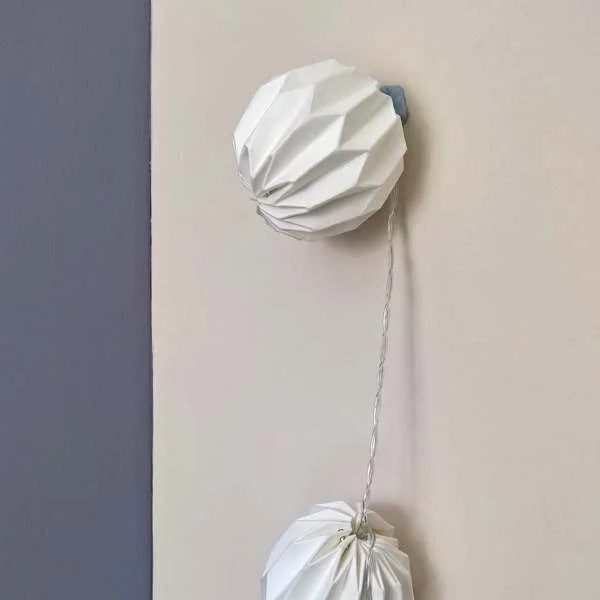
1. Command Strips (Best for Clean Removal)
- How to Use: Stick them to a clean, dry surface and press firmly for 30 seconds. Use hooks designed to hold the weight of your lights.
- Pros: No wall damage, easy removal.
- Cons: Works best on smooth surfaces.
- ✨ Tip: Great for renters who want to avoid wall damage!
2. Pins (For Secure and Permanent Fixing)
- How to Use: Push pins directly into walls or wooden surfaces. Ideal for hanging lights in straight lines or defined patterns.
- Pros: Strong hold, budget-friendly.
- Cons: Leaves small holes in walls.
- ✨ Tip: Perfect for creating wall art with fairy lights!
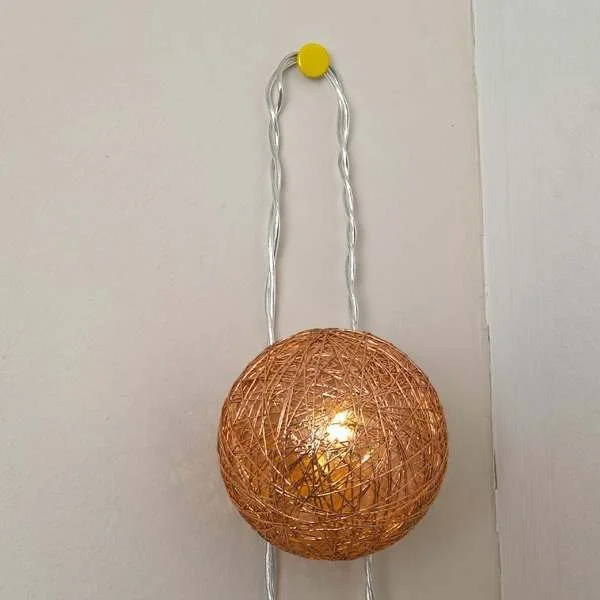
3. Blue Tack (For Lightweight Fairy Lights)
- How to Use: Roll a small amount of blue tack and press it firmly onto the wall. Attach lights gently.
- Pros: Easy to adjust and remove.
- Cons: May not hold heavier lights and can leave stains.
- ✨ Tip: Ideal for temporary setups and dorm rooms!
4. Sellotape (Quick Fix for Temporary Decor)
- How to Use: Cut small strips and press the lights directly onto the wall. Use clear tape for a seamless look.
- Pros: Quick and inexpensive.
- Cons: May leave residue or peel off paint.
- ✨ Tip: Great for parties or short-term decorations!
5. Wire Suckers (For Glass and Windows)
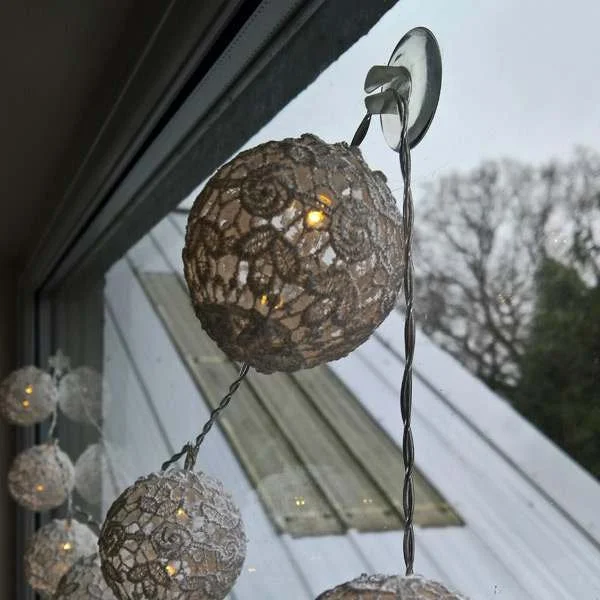
- How to Use: Moisten the suction cup slightly and press it onto a clean window or mirror. Hang lights using the attached hook.
- Pros: Perfect for windows, mirrors, and tiles.
- Cons: Can lose grip over time.
- ✨ Tip: Use for creating glowing window frames or mirror accents!
6. Draping Over Furniture (Effortless and Charming)
- How to Use: Simply drape the fairy lights over your headboard, bookshelf, or curtain rods without any attachments. Let them hang loosely for a cozy, laid-back look.
- Pros: No tools or adhesives needed, easy to change up the look.
- Cons: Not as secure, may need adjusting.
- ✨ Tip: Try draping warm white lights over your headboard for a soft glow or across bookshelves to highlight your favorite reads!
Step-by-Step Instructions
- Plan Your Layout:
Begin by imagining the look you want—maybe a draped design along your headboard, a twinkling wall border, or a canopy of lights for your backyard. Use your measuring tape and pencil to mark key spots where you’ll attach the lights. - Prep Your Surface:
Clean the area where you’ll hang the lights. This ensures that adhesive hooks or command strips stick properly and leave no residue when removed. - Attach the Hanging Supplies:
Use your chosen hanging method to secure the lights in place at each location. - Hang the Lights:
Starting near a power source (or a spot where batteries can be hidden), carefully drape the fairy lights along your planned design. Keep the cable taut by wrapping it securely around each hook for a neat appearance, or keep it loose for an artsy and cozy appearance. - Secure Extra Components:
If you’re using plug-in lights, neatly hide extension cords or battery packs behind furniture or within decorative boxes. Make sure everything is safely tucked away. - Test and Adjust:
Turn on the lights and step back. Adjust any sections that seem too loose or uneven, and make sure all connectors are secure.
Creative Ways to Hang Your Fairy Lights
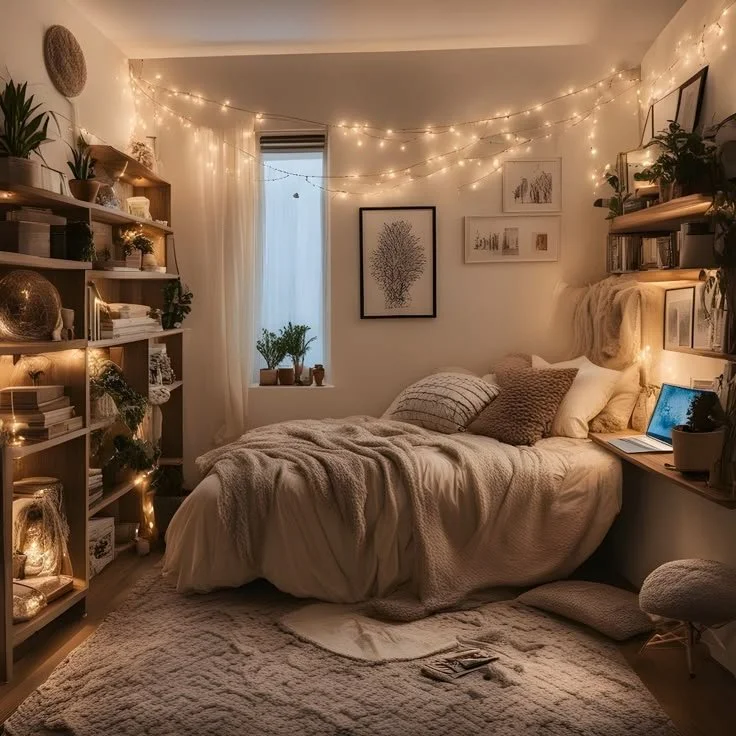
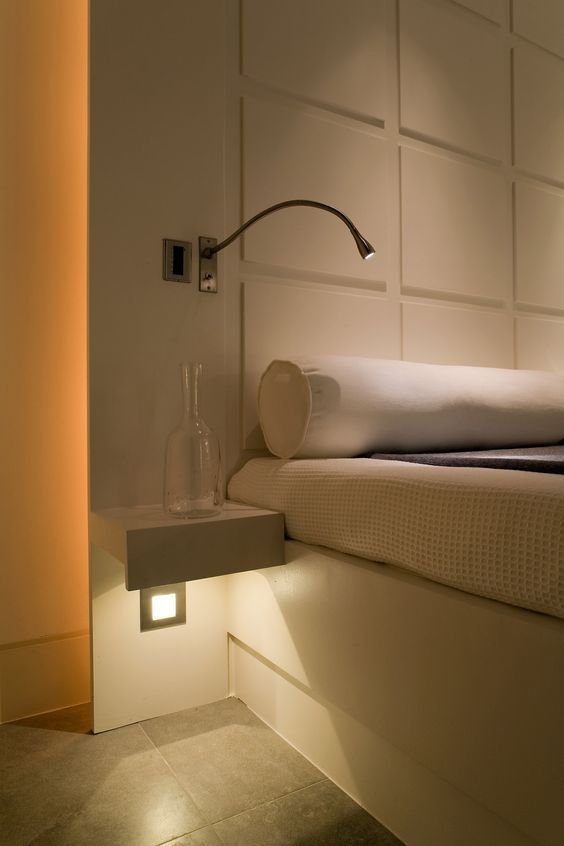
- Bedside Glow:
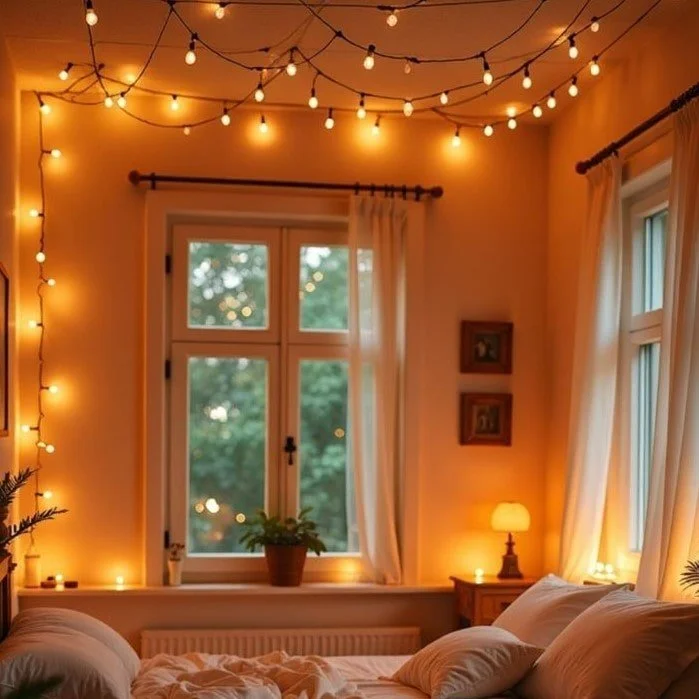
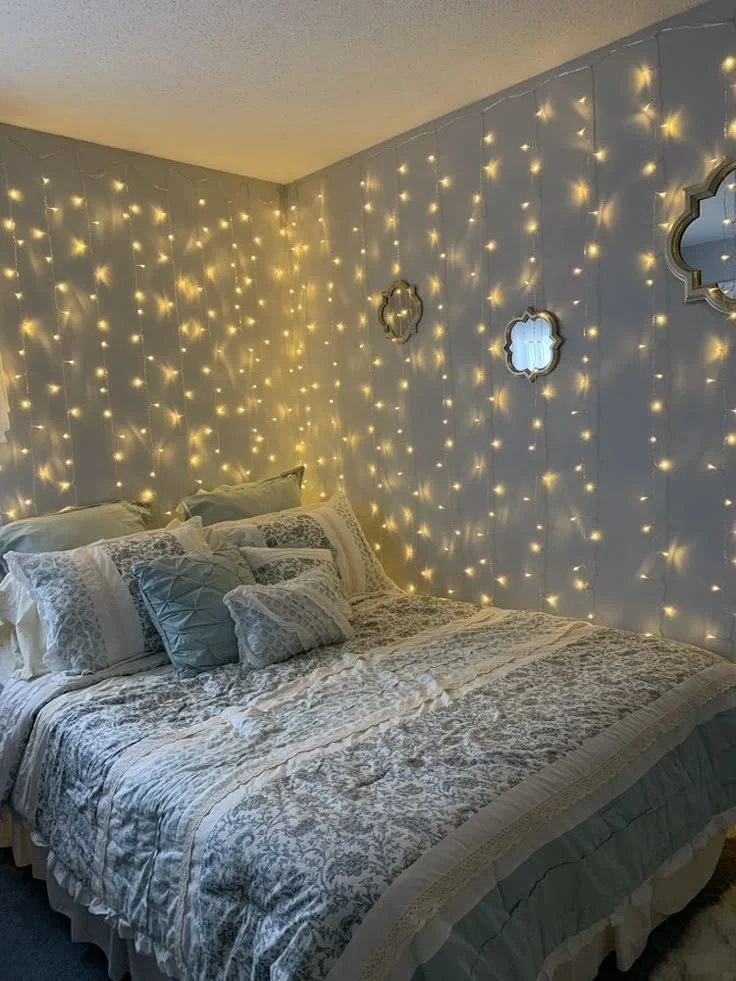
Drape fairy lights around your headboard or along the edge of your bed to create a cozy, starry atmosphere for a dreamy bedroom. - Wall Decor Magic:
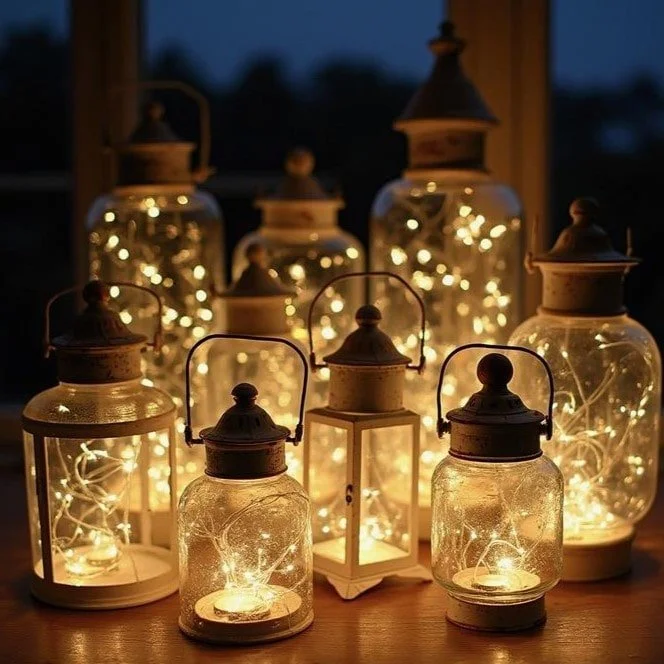
Outline your wall, frame a mirror, or create an artistic design by forming shapes like hearts or stars with your string lights. These make a great backdrop for photos! - Fairy Light Jars:
Fill mason jars with battery-powered fairy lights to create enchanting luminaries. Place them on shelves, tables, or hang them from your porch. - Outdoor Enchantment:
Wrap lights around trees or drape them along fences in your backyard to create a whimsical outdoor space perfect for evenings with friends.
Safety and Maintenance Tips
- Choose Cool LED Lights:
LED bulbs stay cool to the touch, reducing fire risk and saving energy. - Secure All Cords:
Make sure wires are fastened neatly to avoid tripping hazards, especially if you’re placing lights in high-traffic areas. - Check Your Supplies:
Inspect all lights and hanging materials for damage before installation. Replace any frayed or broken parts. - Don’t Overload Outlets:
Use extension cords and timers as needed, and follow manufacturer guidelines to keep your setup safe.
Photo Tips for Capturing Your Sparkle
- Natural Light Magic:
Capture your fairy light décor during golden hour (early morning or late afternoon) for warm, natural tones. - Long Exposure Shots:
At night, use a tripod and experiment with long exposure settings to capture the twinkling effect. - Creative Angles:
Try close-ups of a string elegantly draped over a window or wide-angle shots that capture the entire ambiance of your room or outdoor space. - Editing for Glow:
A little post-processing can enhance the warmth and glow of your fairy lights—just don’t overdo it!
Final Thoughts
Decorating with fairy lights is an easy DIY project that brings a delightful sparkle to any space. Whether you’re revamping your bedroom, jazzing up your living area, or creating a magical backyard retreat, these tips will help you hang your lights safely and beautifully. Now it’s your turn to experiment and let your creativity shine—happy decorating!
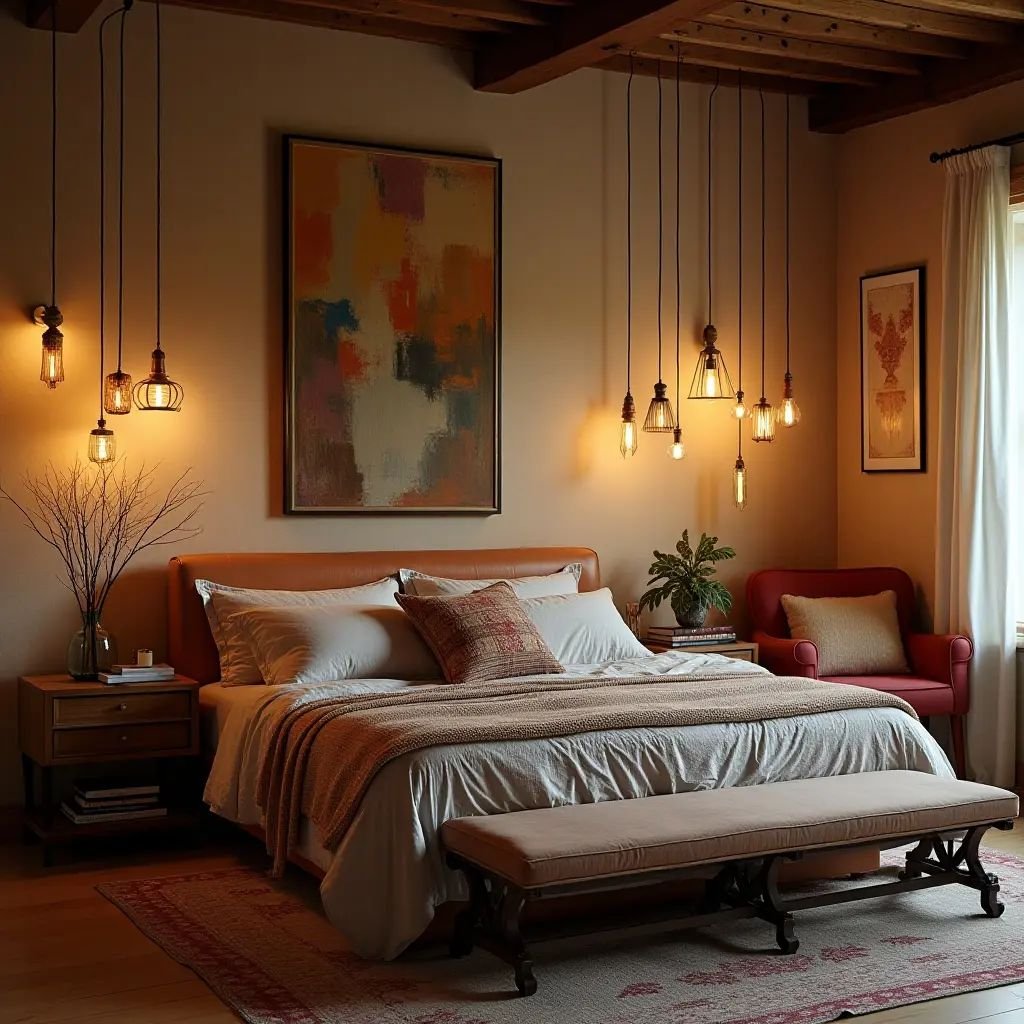
✨ Looking for more lighting inspiration? Don’t miss our Guide to Bedroom Lighting for tips on layering lights like a pro!